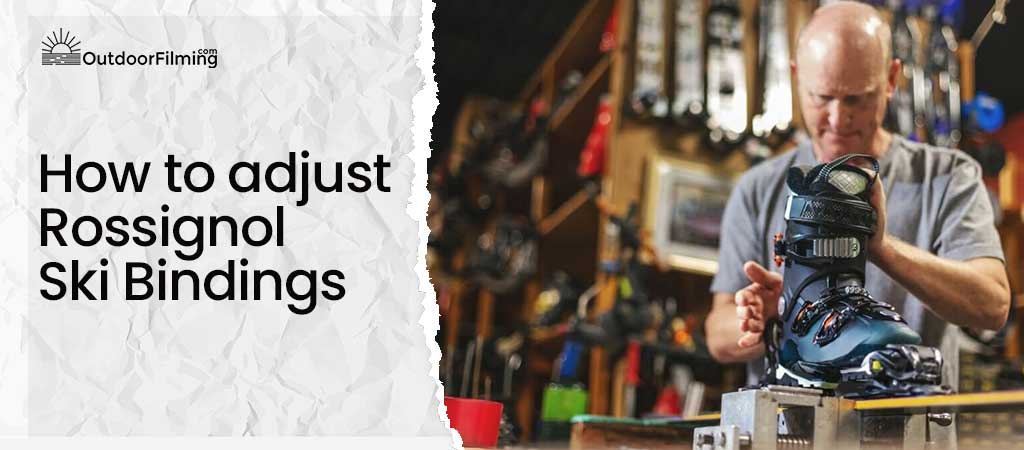
Do you need to know how to adjust Rossignol ski bindings? So, if so, let me tell you that below you will have all the detailed steps you can take to get the right fit on your skis.
We write this article so that all those interested who have a ski, get the most appropriate configuration without having to resort to a technician. Although of course in case you have any questions, it is recommended that you go to the nearest store to do the work for you. However, with the following detailed steps below you can do an excellent job.
That is why we address all those people who are interested in the world of skiing and who have their materials, of course, to configure voice correctly. This will allow you to achieve efficient use but above all safe use at any time.
How to Adjust Rossignol Ski Bindings for New Boots
To begin with this process, you must be able to detect the correct pressure pointing forward. Therefore, the first step will be to click on the appropriate boot. Where will you find this? In the axial binding of Rossignol. After you have connected your boot to the fixation, you can find a small window under the piece that belongs to the heel, right on the track.
The window in the axial system has a flange, usually yellow, with a length of about 1 centimeter. This tab manages to fill the window, although sometimes it also fills only half, or it may not even be visible. You should get this tab to divide this window just in half and in the middle. This allows to achieve the most balanced pressure, as long as half of the window is transparent, and in the other half is the yellow tab.
Now, once you have managed to fill the window, this means that the pressure is not the most appropriate, but offers little resistance. Without a doubt, the result of this will be a simple expulsion. Of course, this is bad and should be avoided.
We recommend that you not go to the other end either. This means that the tab directly cannot be seen since you will be applying too much pressure. Remember that if a high-pressure level is applied to the fixings, they are unable to provide security. If this happens, you should avoid using them, much less on a hill!
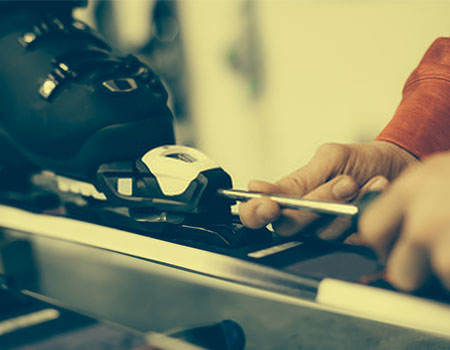
To get a correct fit you should get a screwdriver that is the flathead, then locate the metal tab just below the mentioned window. For that, you must place the screwdriver below the tab to get the tab up. This will allow the locking mechanism to be disengaged. Once the forward pressure is too high, then you should move a little more towards the tail of the skis. For that, you can start by sliding forward or backward one increment at a time. In this way, you can secure the fixation and detect if the boot is too loose or too tight. With which to detect the exact level of pressure, you can grant good effective and safe use.
You should also consider that you are looking for the final position of this yellow tab, which should be as close to the center as possible. Therefore, once you have found the exact position in the center, the advance pressure setting will be appropriate. Remember also that the important thing about this step is that the pressure is correct so that no part is expelled during use. It is important to note that it is one of the most important steps, especially if you are in the middle of the ski, so checking the steps correctly will be much safer and avoid any type of damage.
How to Adjust Rossignol Fks Ski Bindings – Front Pressure
Now getting a proper union for this case will be something more difficult. There is a difference between this model and the previous ones since it does not slide on a track. This means that you will need a little more dialing if you intend to get more space for boot. So in the heel piece of this model, you will find two stems located on each side.
You must then get the proper fit of these stems and thereby get more space for your boot. Therefore, start by adding the boot inside the binding. For that, you should first see the white tab that will surely be found at the base of the heel plate. Next to it, visualize the white tab and you can detect that there are two dashes on the sides. Therefore, set look as you should get the white tab to approach the center and be between these two dashes. With this, you will get the correct configuration.
Once the tab has significantly exceeded these scripts, then you should understand that the feed pressure is too much, that is, the pressure level is too high. So on the contrary, in the case that this same tab did not reach between the two dashes, the pressure is too insufficient. These two positions will help you to understand how this type of white tab works and how it is used to exert more or less pressure.
However, in the case that the pressure exerted on a level too high must have a screwdriver. Then you must locate the screw located on the side of the heel piece, that is, on the part that is above each stem. To achieve an agreement result you must exert the same pressure on each of the stems equally. At the same time if you make rotations in an anti-clockwise direction, get to lengthen the length of each of the stems, and then create some more space for the boot.
To be able to Rossignol bindings adjust, you will only need these few tools, in this case, a screwdriver and only understand a little the mechanism of this. Therefore to continue as you adjust the stems grow. When this happens you will start to notice a silver part on the stem. This point serves as a reference that ensures a balanced configuration and the same length.
As a next step, it would be convenient to make only 1/2 centimeter of adjustments at any time and then attach the boot again. Once you do this you can begin to notice that the white tab will indicate the level of pressure, which is changing. As you move forward on the heel plate, you can start approaching the center of the scripts. These steps should be performed over and over again until the most appropriate position is obtained.
Remember that the feed pressure should not be too high or too low. You will then need to reduce the proportion of each of the stems by a proportionate amount. Therefore, it must be located at the top of each of the stems to then turn the screw clockwise. You will get with this shorten both stems. Therefore, you must continue performing these same steps to achieve equal and incremental adjustments on each of the stems. By doing this, you will be able to attach the boot until you can land the end of the white tab in the middle of the two scripts mentioned above.
If you are not very sure about the pressure you should get, then do not hesitate to go to the nearest store because it is a safety feature that should not happen during use. Ski binding adjust is important as it will provide you with more appropriate use at all times.
You may also like: How to adjust Marker Ski Bindings
DIN Configuration
In the latter case, it is the last part that relates to resetting the release configuration. You will be able to see some windows of and in which they are found both in the heel pieces and in the toe. The DIN configuration of the heel and toe piece must match at all times. This means that as the number is greater, then so will the DIN configuration. So also as the DIN setting is higher, this means that getting free or ejecting the fixings will be more difficult.
Now, you may be wondering where you are, or what is the DIN? If you ask yourself this, it is recommended that you take your skis and see them at the nearest store. When you do this, you must then request that the fixings be marked. This way you will be able to know what they are and where their DIN is for a type of link. Keep in mind that this may be different between one brand and another. Therefore, once you have taken your skis to the store, you will know how to configure your links at another time.
These steps will allow you to know exactly how to have your feed pressure adjusted properly. An incorrect pressure could prevent the skiers from being released in some way, or on the contrary, they could be released too easily. Properly establishing the advance means that the DIN could be too low or too high.
Conclusion
For all ski lovers who have their products, this article can provide you with the right information so that you get the best settings yourself. That takes into account that day after day when using their x these could become misadjusted and lose the ideal configuration. Therefore, knowing how Rossignol bindings adjust will not only give you a much more comfortable and simple use but will also give you the security that all people who ski need.